 I learned to make paper flowers a long time ago with directions from a library book. They don't require any adhesive, and there are just four shapes to cut out.
 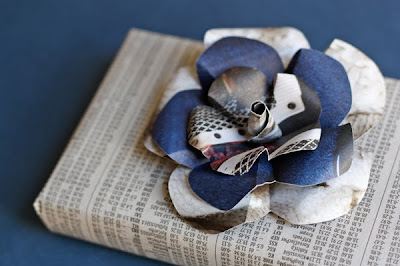 Use them to decorate gifts or make wreaths. I chopped up a fancy Urban Outfitters catalog for these.
You can make template pieces to trace around and then cut out the shapes with a scissors—what I used to do. But this seemed like a good test for the Silhouette cutter, so I recreated the pattern pieces in Illustrator on my Mac and commanded the machine to cut them for me. It took about fifteen seconds to cut the parts for one flower. Whoa. I shall never return to my primitive, scissors-wielding caveman ways.
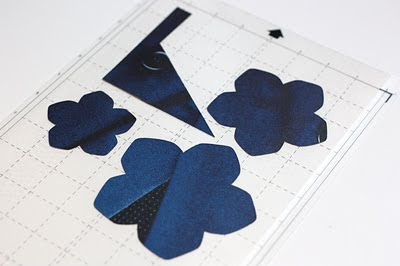 If you'd like to download the PDF templates, get the large flower here and the small flower here.
 [Cutting from Adobe Illustrator with the Silhouette currently requires a free plug-in called Cutting Master 2 that works with Illustrator 10 - CS5, available for Mac or PC.]
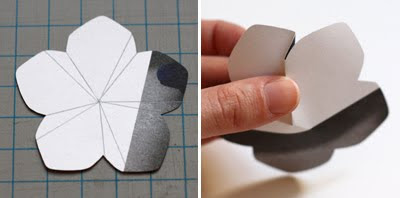 To make the flowers, do the following:
1. Score the back of each petal along the lines shown in pencil, above.
2. Pleat the petals along the scored lines, always folding in the same direction.
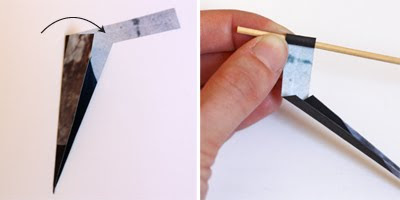 3. Fold the triangle portion of the stem in half lengthwise. Do this two more times until it reminds you of a toothpick.
4. Using a chopstick or skewer, roll the "flag" portion of the stem toward the "toothpick." This curl will form the center of the flower.
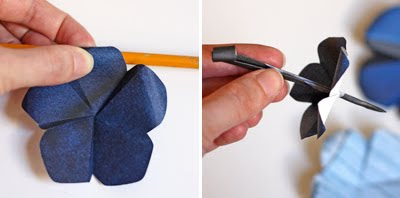 5. Curl the ends of each petal backward to give them shape.
6. With a skewer or sharp pencil, poke a hole in the center of each flower piece.
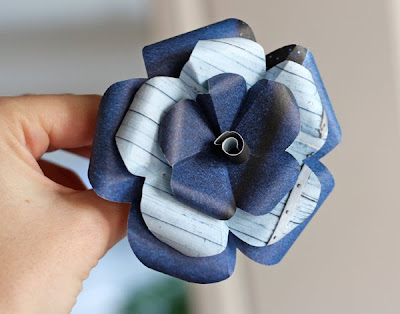
7.Thread the pieces onto the stem, from smallest to largest. Finished!
Tidak ada komentar:
Posting Komentar